Introduction
The snap builder is a new type of layout method for Dungeon Architect. It builds a dungeon by stitching together pre-built rooms prefabs.
In this page, we’ll walk through the creation process.
Preparing the Scene
Create a new scene and drop in a Dungeon Snap game object. This will allow you to build snap dungeons

Creating Module Prefabs
A module is a prebuilt prefab of a area (like room, corridor etc)
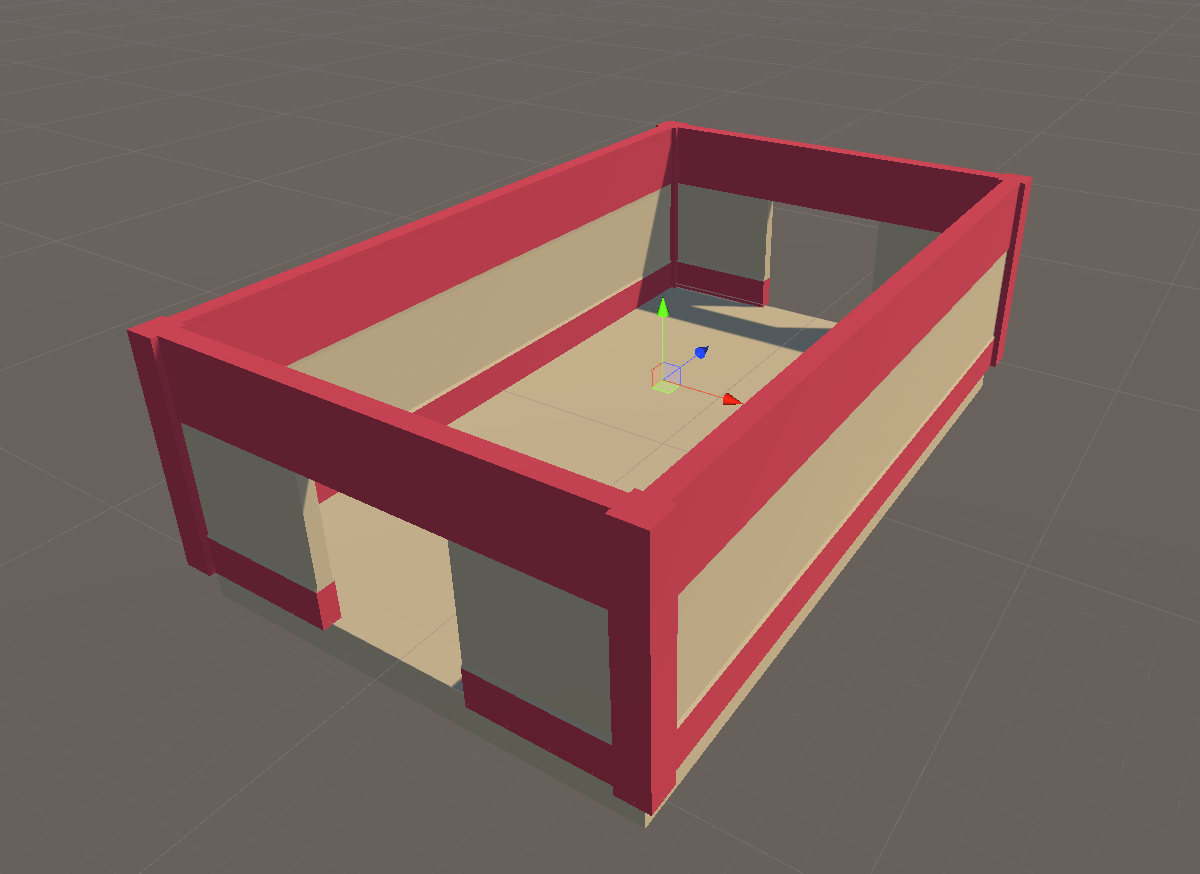
Design a room in the editor so we can turn it into a prefab for use with the snap builder
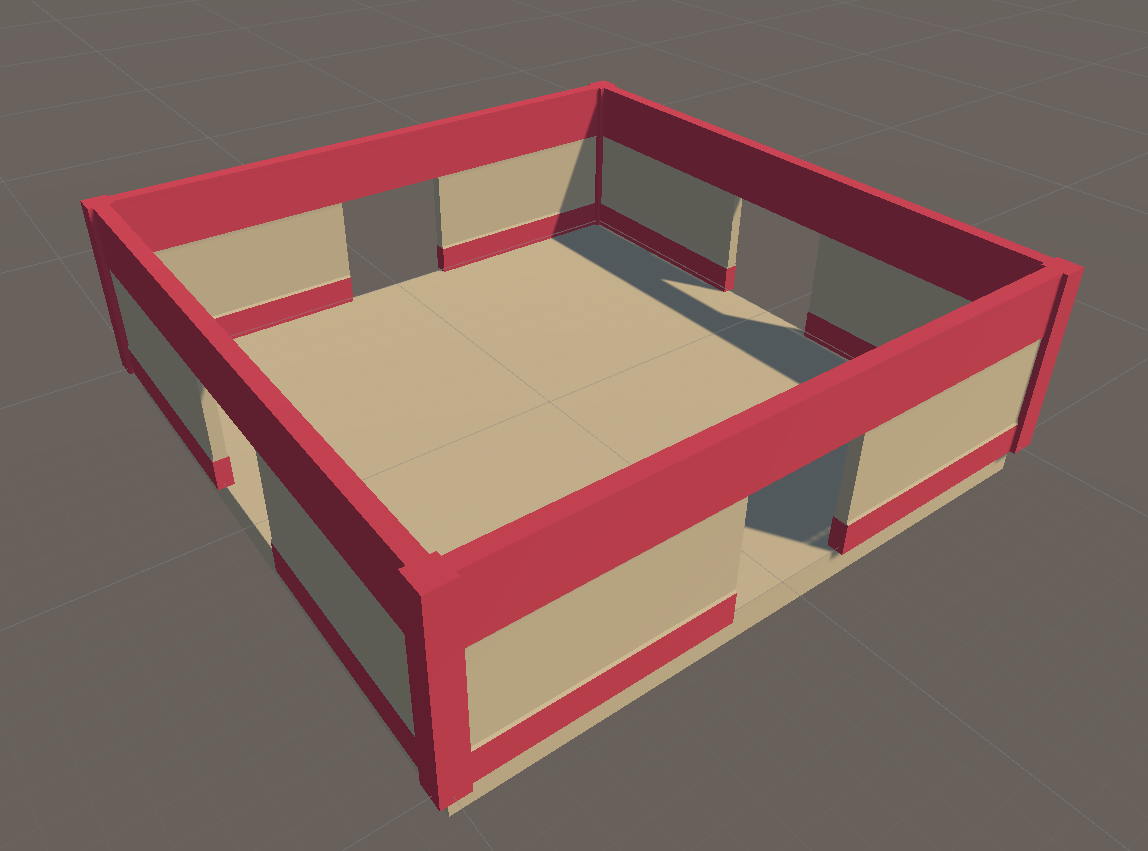
We’ve left holes at places where we want a possible door. We’ll place a special Connection prefab later at these places to let Dungeon Architect know that it can stitch the rooms from these points
Go ahead and create a few more module prefabs. We’ve created one for a corridor below
Connections
A Snap Connection tells DA how to stitch the room modules together. They are usually the Door Entry / Exits.
The connection also contains references to two assets, a references to a Door prefab and a reference to a Wall prefab.
If DA stitches another module through that connection point, it would place the specified Door prefab in that place. Otherwise it would fill up the gap with the specified Wall prefab
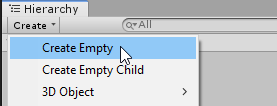
Design a new Connection prefab by creating an emtpy Game Object
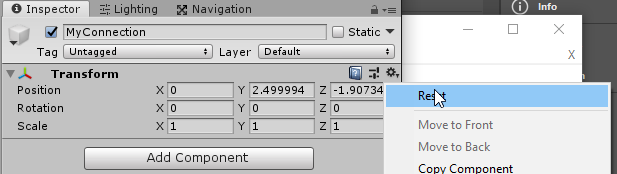
Reset the transform of the newly created emtpy Game Object and rename it
Add a SnapConnection script to it
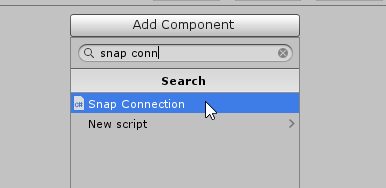
This script takes references to the above two mentioned prefab references, one for door and another for wall
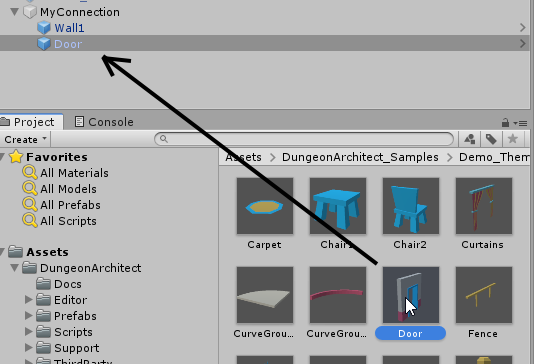
Drop your Door and Wall prefabs under the Connection prefab
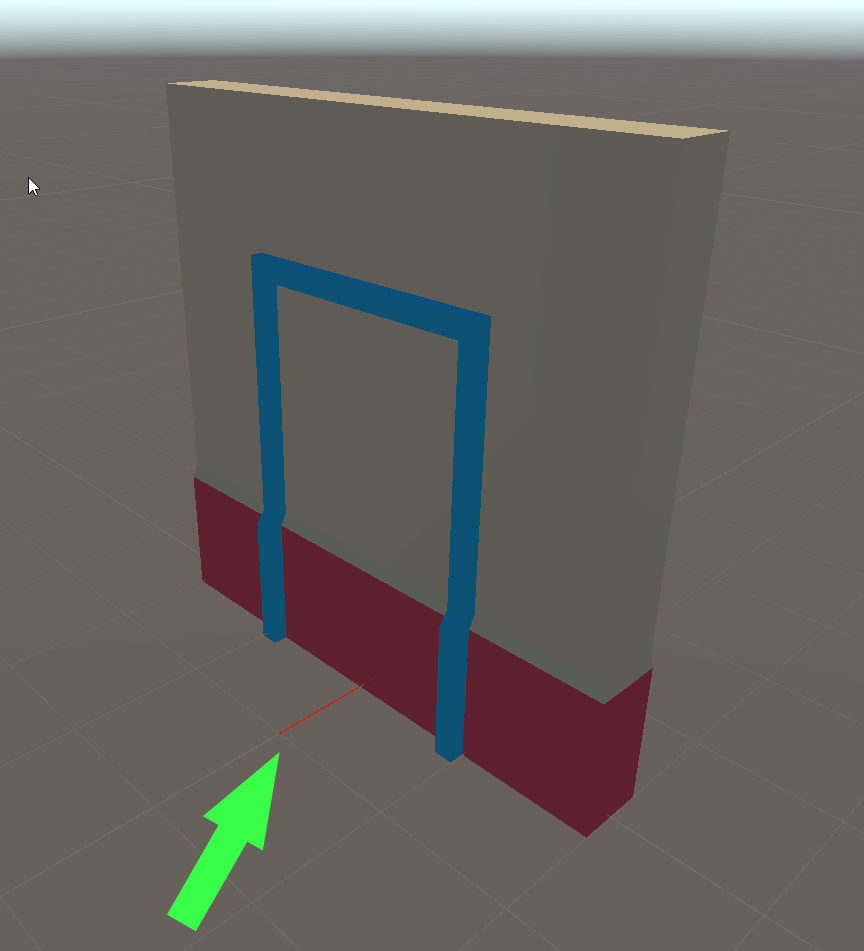
Align the door and wall prefabs so the Red line is perpendicular to it
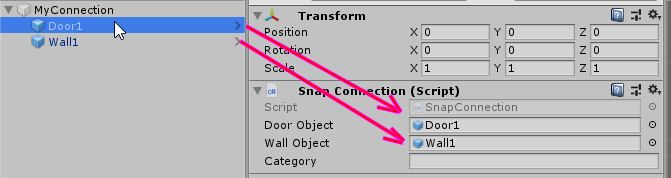
Now set these child door / wall prefab references on the SnapConnection script
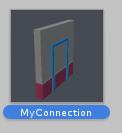
Your connection is ready. Turn this into a prefab so we can reuse this in our modules
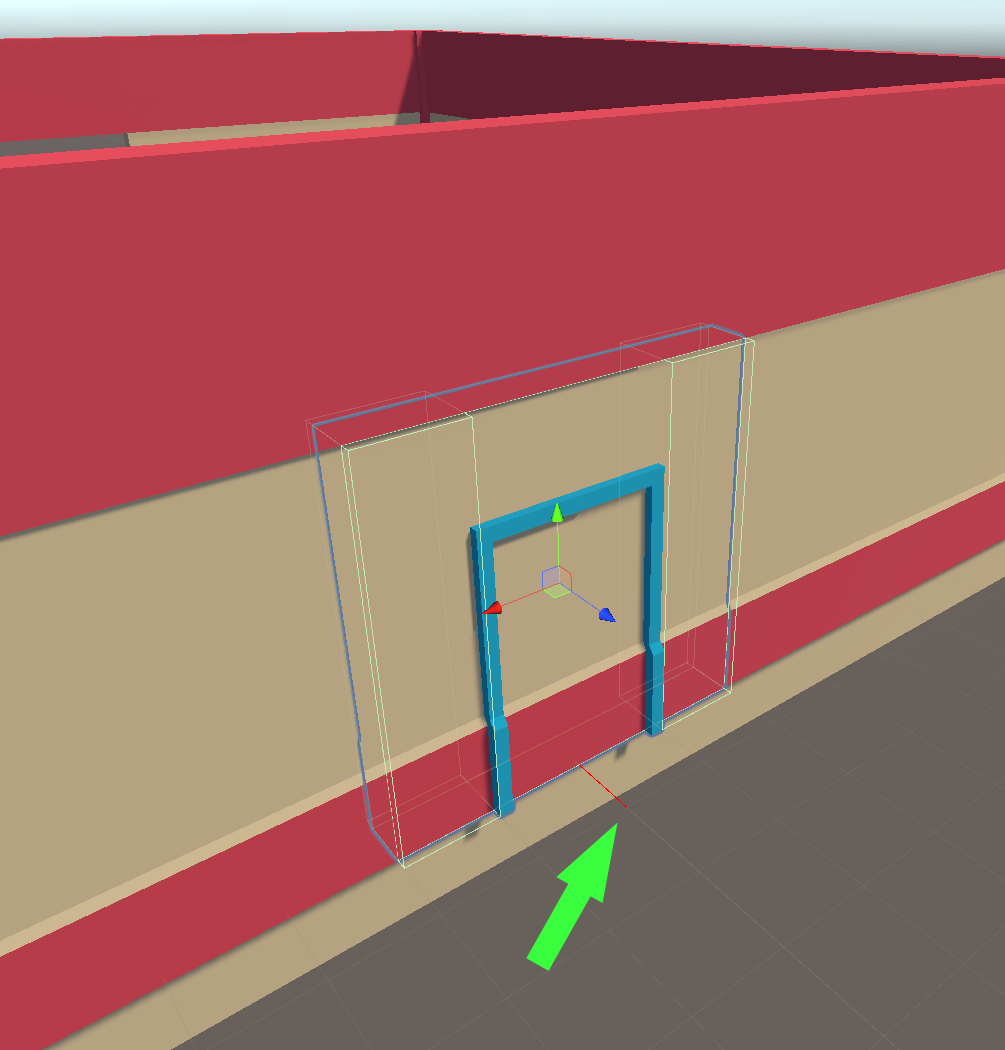
Drag and drop the connection prefab on your previously generated modules. Make sure the red line points outwards from the opening
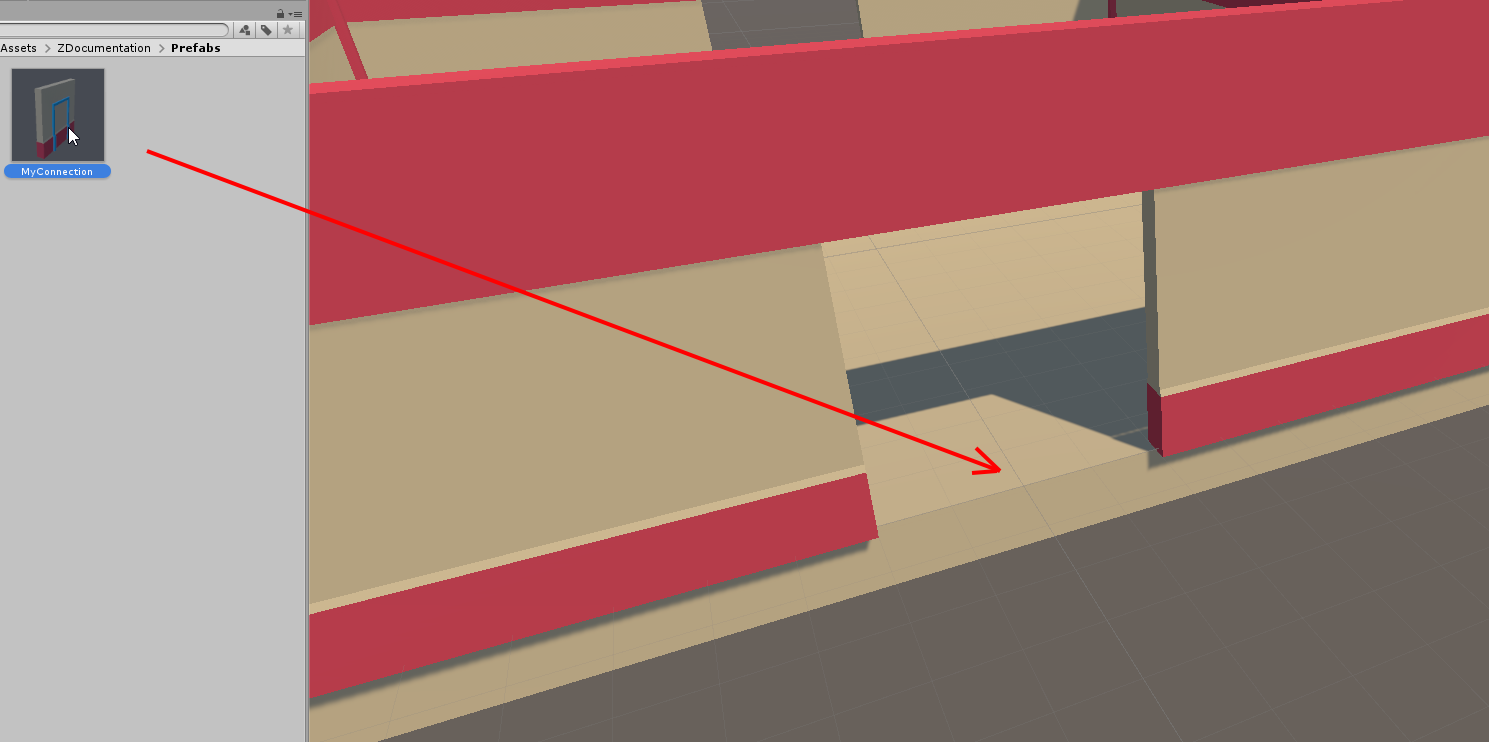
Make sure the red line is pointing outwards and is on the edge of the module bounds
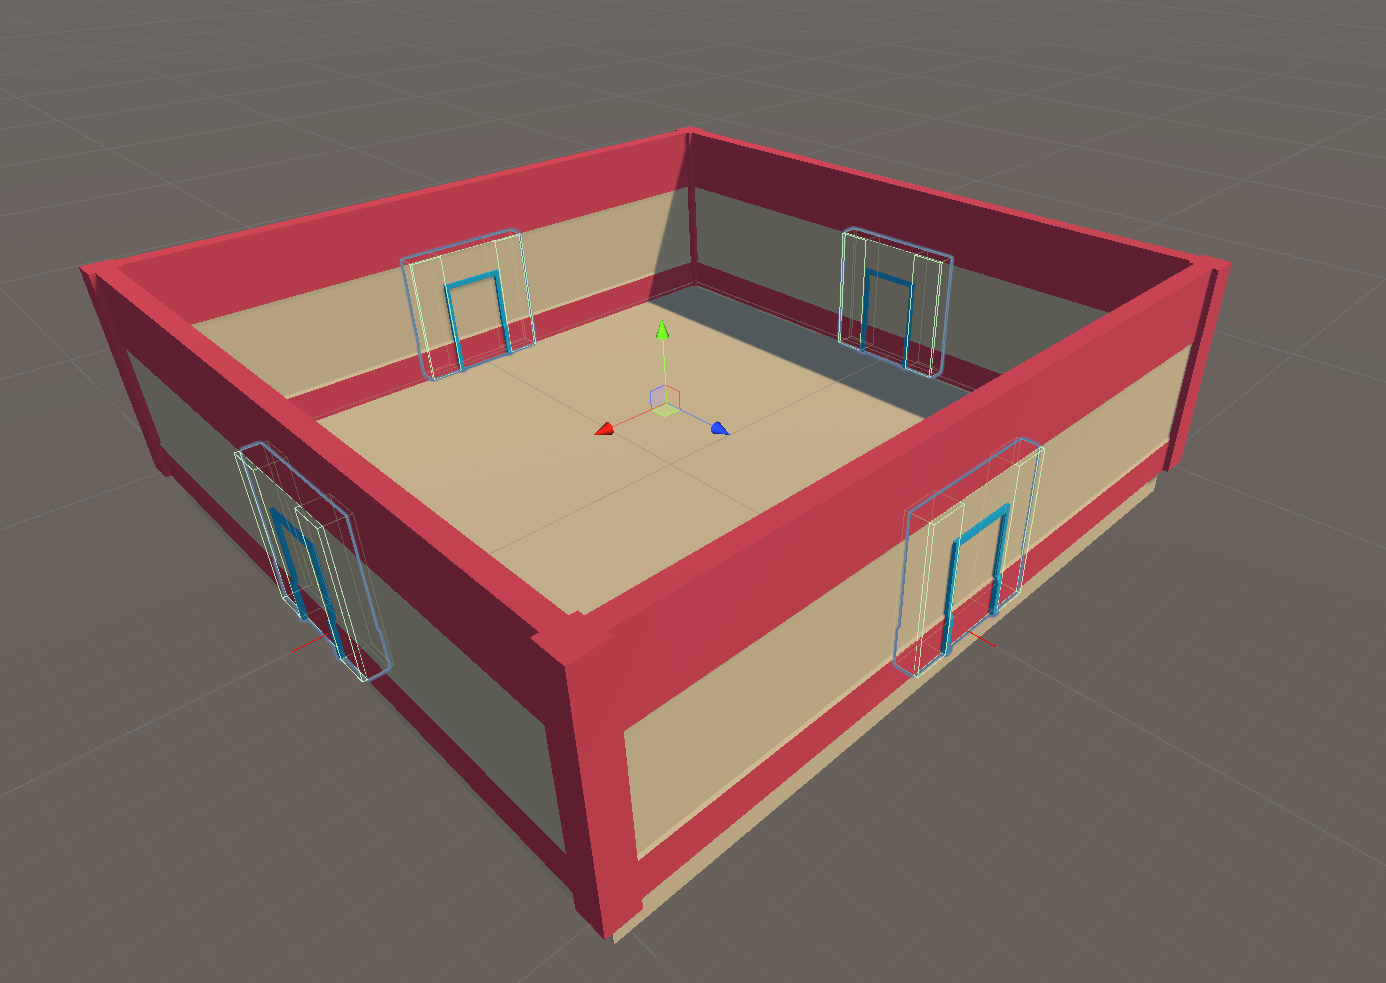
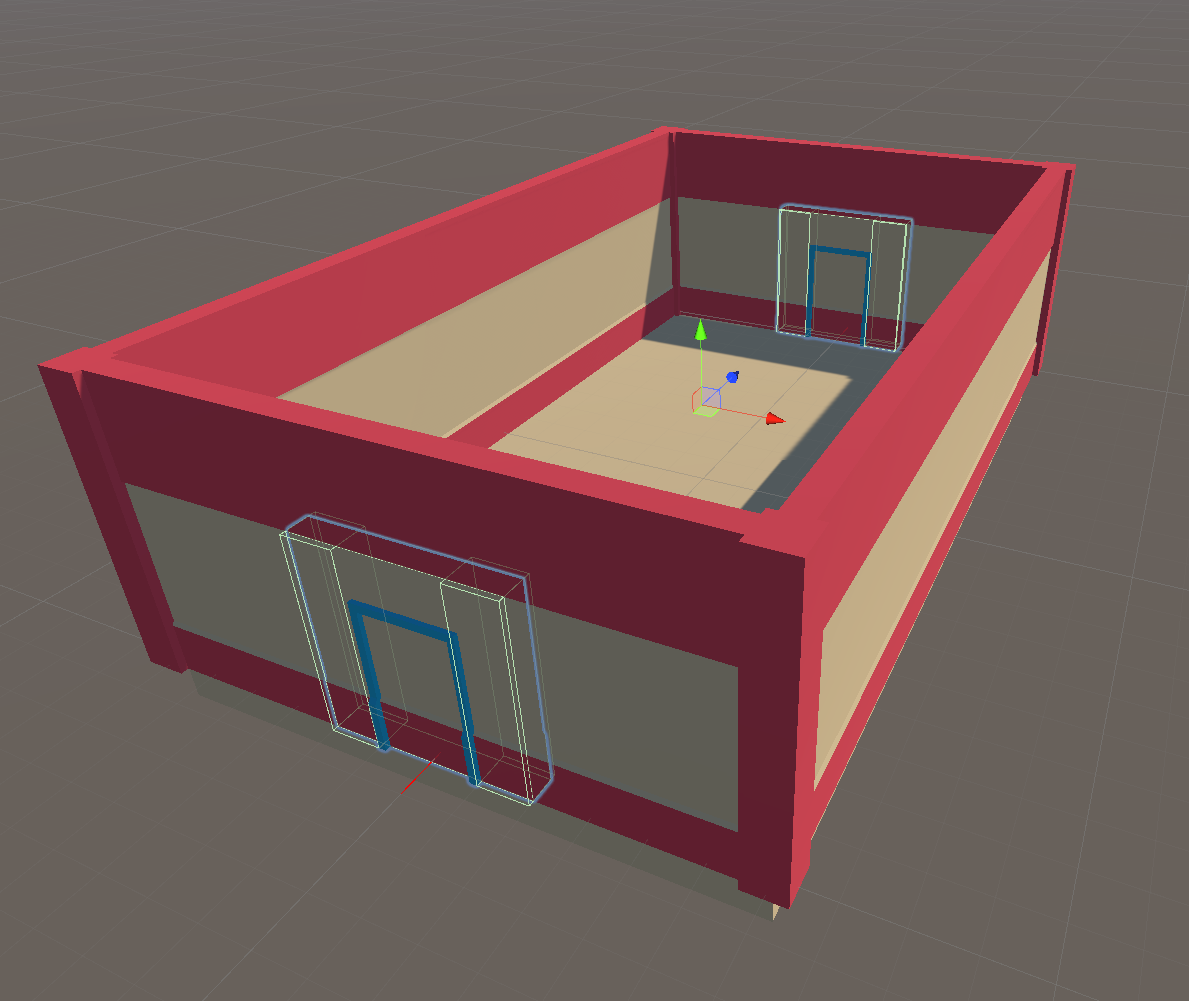
Repeat by drag-dropping on all the door openings. Do this for all the other modules as well (like the corridor module)
Save/Update your module prefab
Register the Modules
Register your modules in the DungeonSnap game object so Dungeon Architect can use it to build the dungeon
Inspect the DungeonSnap Game Object
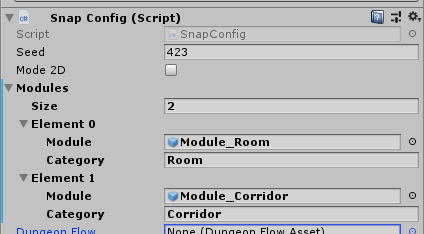
Here we’ve registered the two modules and assigned a Category to them (e.g. Room, Corridor, TreasureRoom, MiniBoss, MainBoss, SpawnRoom, Exit etc).
You can have multiple module prefabs assigned to the same category. These categories are used in the Dungeon Flow graph to design a procedural layout graph for your dungeon
Dungeon Flow
A Dungeon Flow graph allows you to control the layout of your dungeons using Graph Grammars. You can generate interesting graphs with simple rules
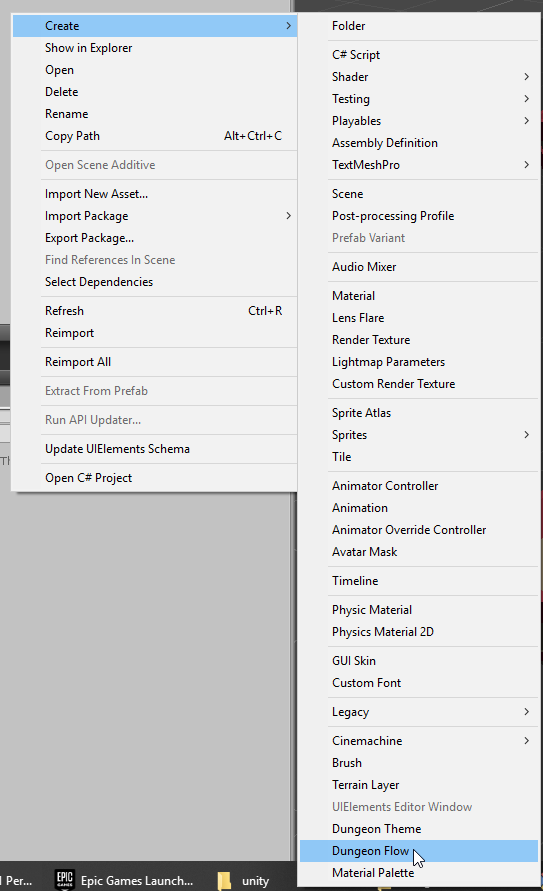
Create a new Dungeon Flow Asset by right clicking on the Projects window. (This can also be done from the Create menu in the Projects window or Assets > Create from the editor’s main menu)
Double click the asset to open the Dungeon Flow Editor. Doc this window in a large area
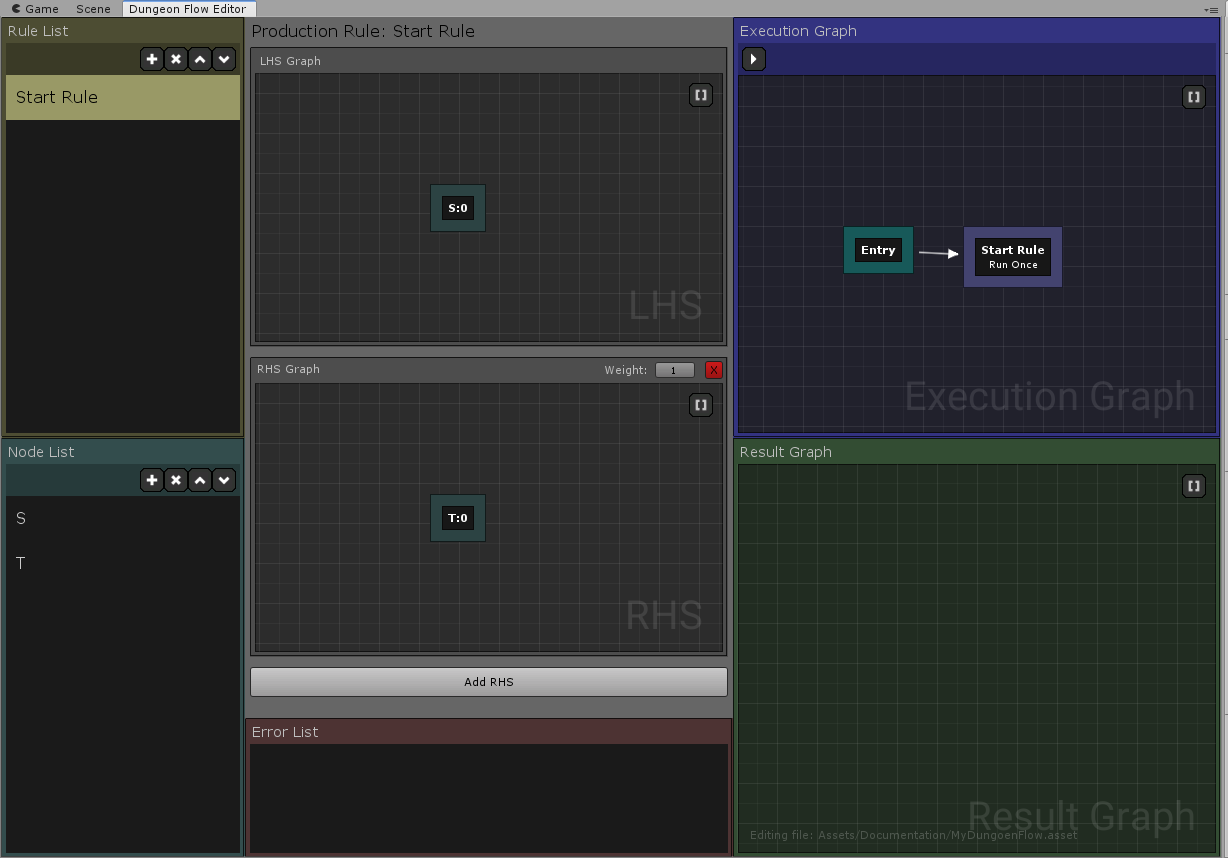
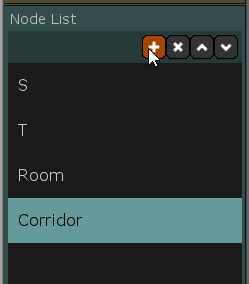
Add two new nodes Room and Corridor. You can change the name of the nodes from the inspector window
These names map to the names you specified on the Module registration in the DungeonSnap game object
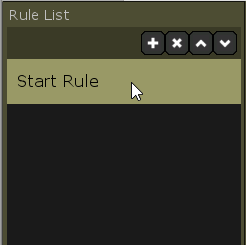
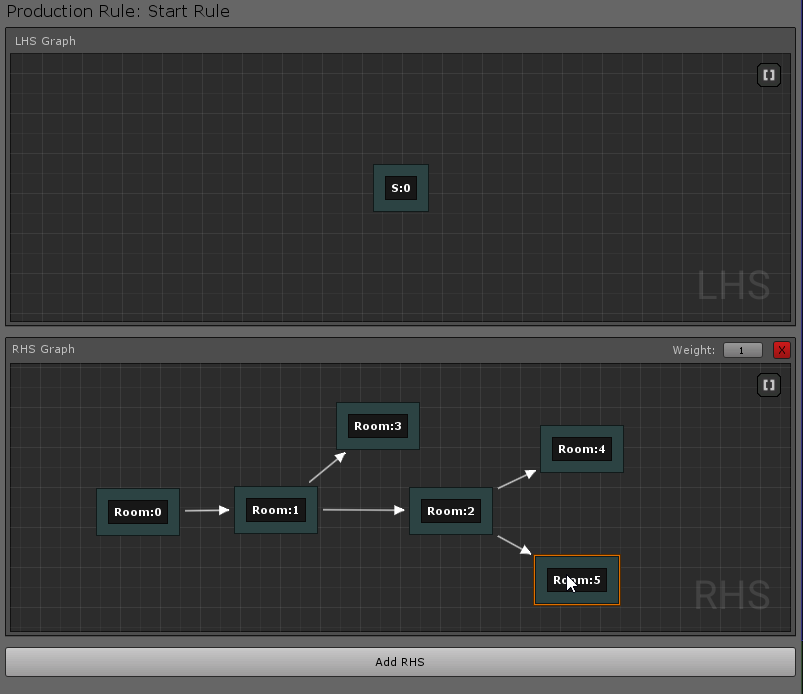
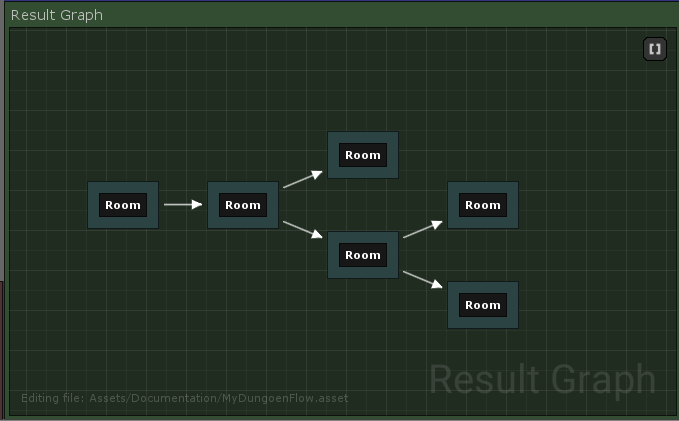
Select the Start Rule and on the RHS, delete the default T node and drop in a few Room nodes like this:
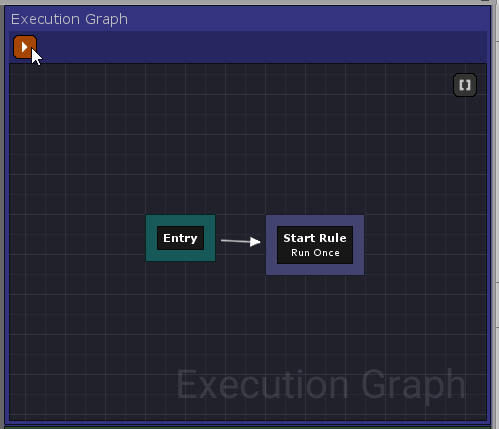
Execute the rule and see how the final graph is generated. You do this by clicking the Run icon on the Execution graph panel
We’d like to insert Corridors between the rooms. Create another rule and give it a name (e.g. Insert Corridors)
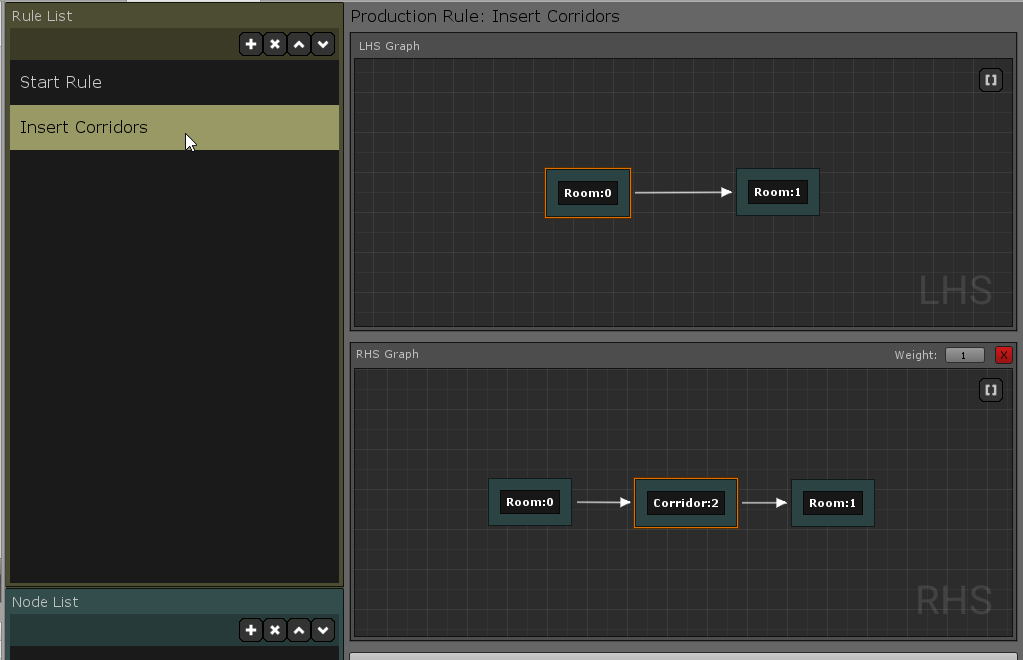
On the LHS, we want to find a patterns where two rooms are connected to each other like this (Room -> Room) and have it replaced with (Room -> Corridor -> Room)
The Graph Grammar will find a pattern you specify on the LHS and replace it with the one you specify on the RHS
The Indices on the nodes (e.g. Room:0, Room:1) are important that helps in correct mapping. Since we properly specified 0 and 1 indices on the RHS, it knows the direction of the newly created links to the corridor. This will be covered in detail in the full documentation soon
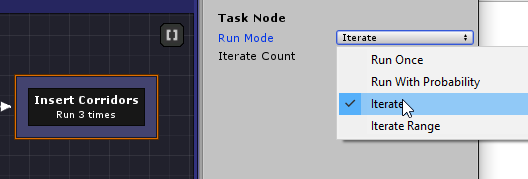
You control how your rules are run from the Execution Graph. Drag drop your newly created Insert Corridor rule on to the execution graph and connect it after the Start Rule.

Select the newly placed node and from the details panel, change the execution mode to Iterate and set the count to 2 or 3 (This makes the rule run multiple times since the newly replaced Room nodes wont map with the adjacent older Room nodes by design and need to be run again)
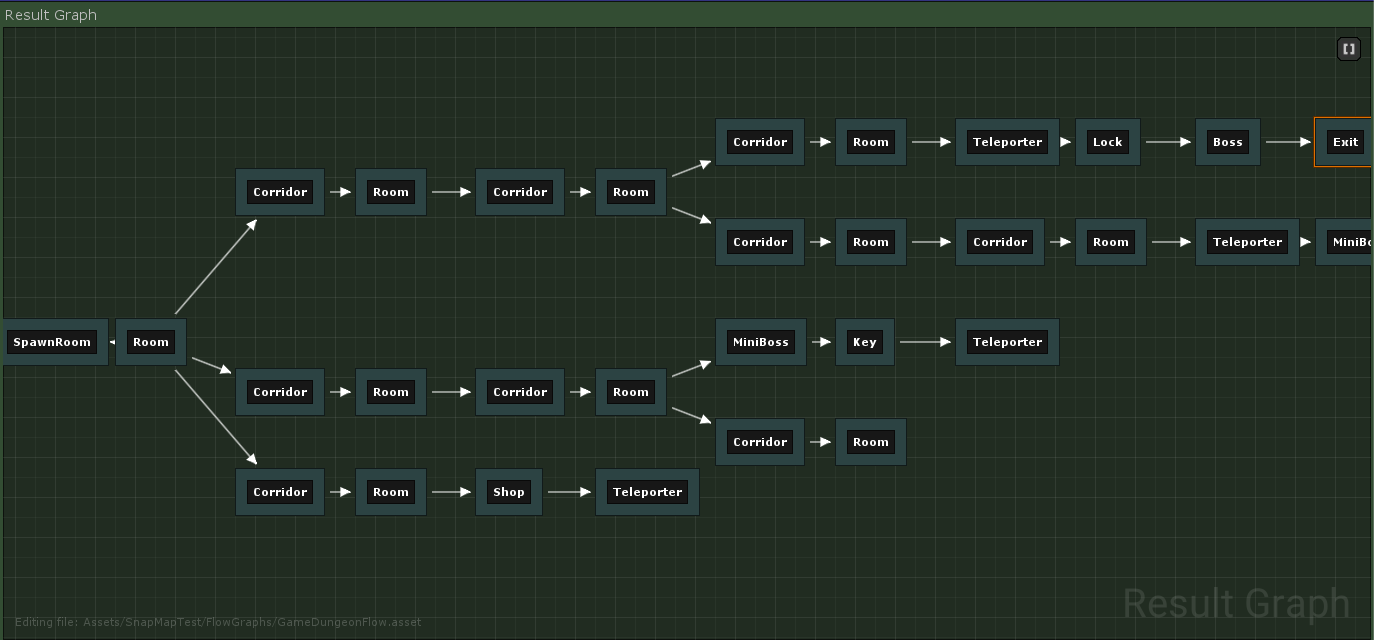
Execute the grammar and you’ll now see corridors between your rooms

We will use this Dungeon Flow graph grammar to generate our snap dungeons
Generating the Dungeon
Assign the Dungeon Flow assets to the DungeonSnap game object
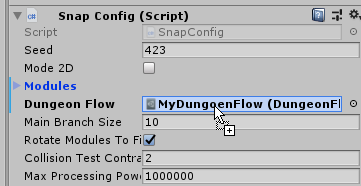
Hit Build Dungeon. Randomize the seed and get different configurations that satisfy the layout graph you defined in the flow asset. Change the Dungeon Flow graph and experiment further

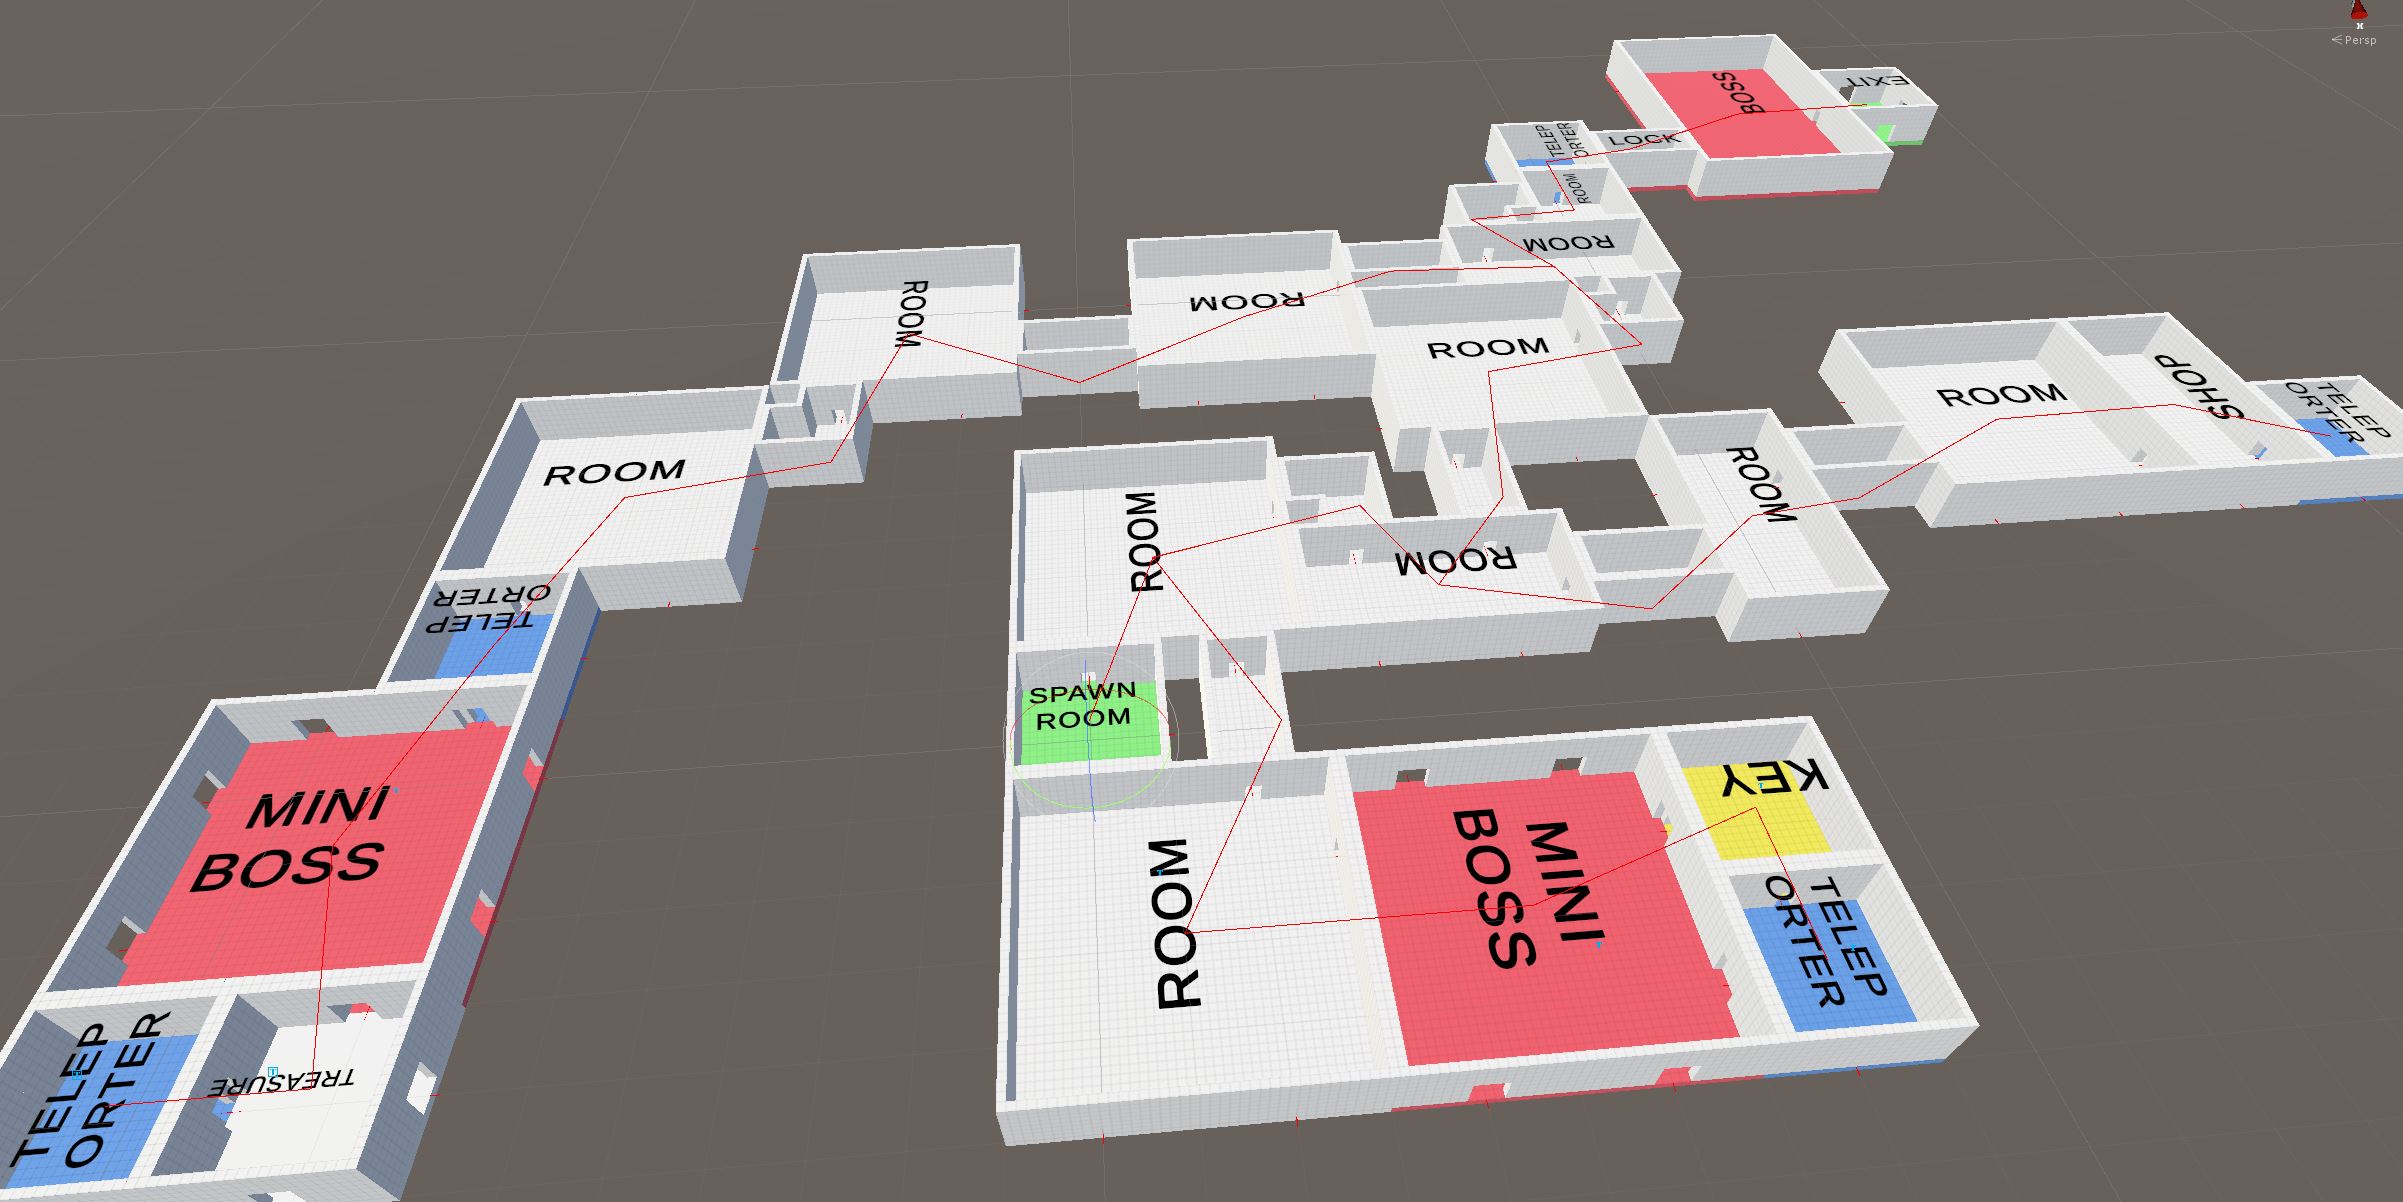
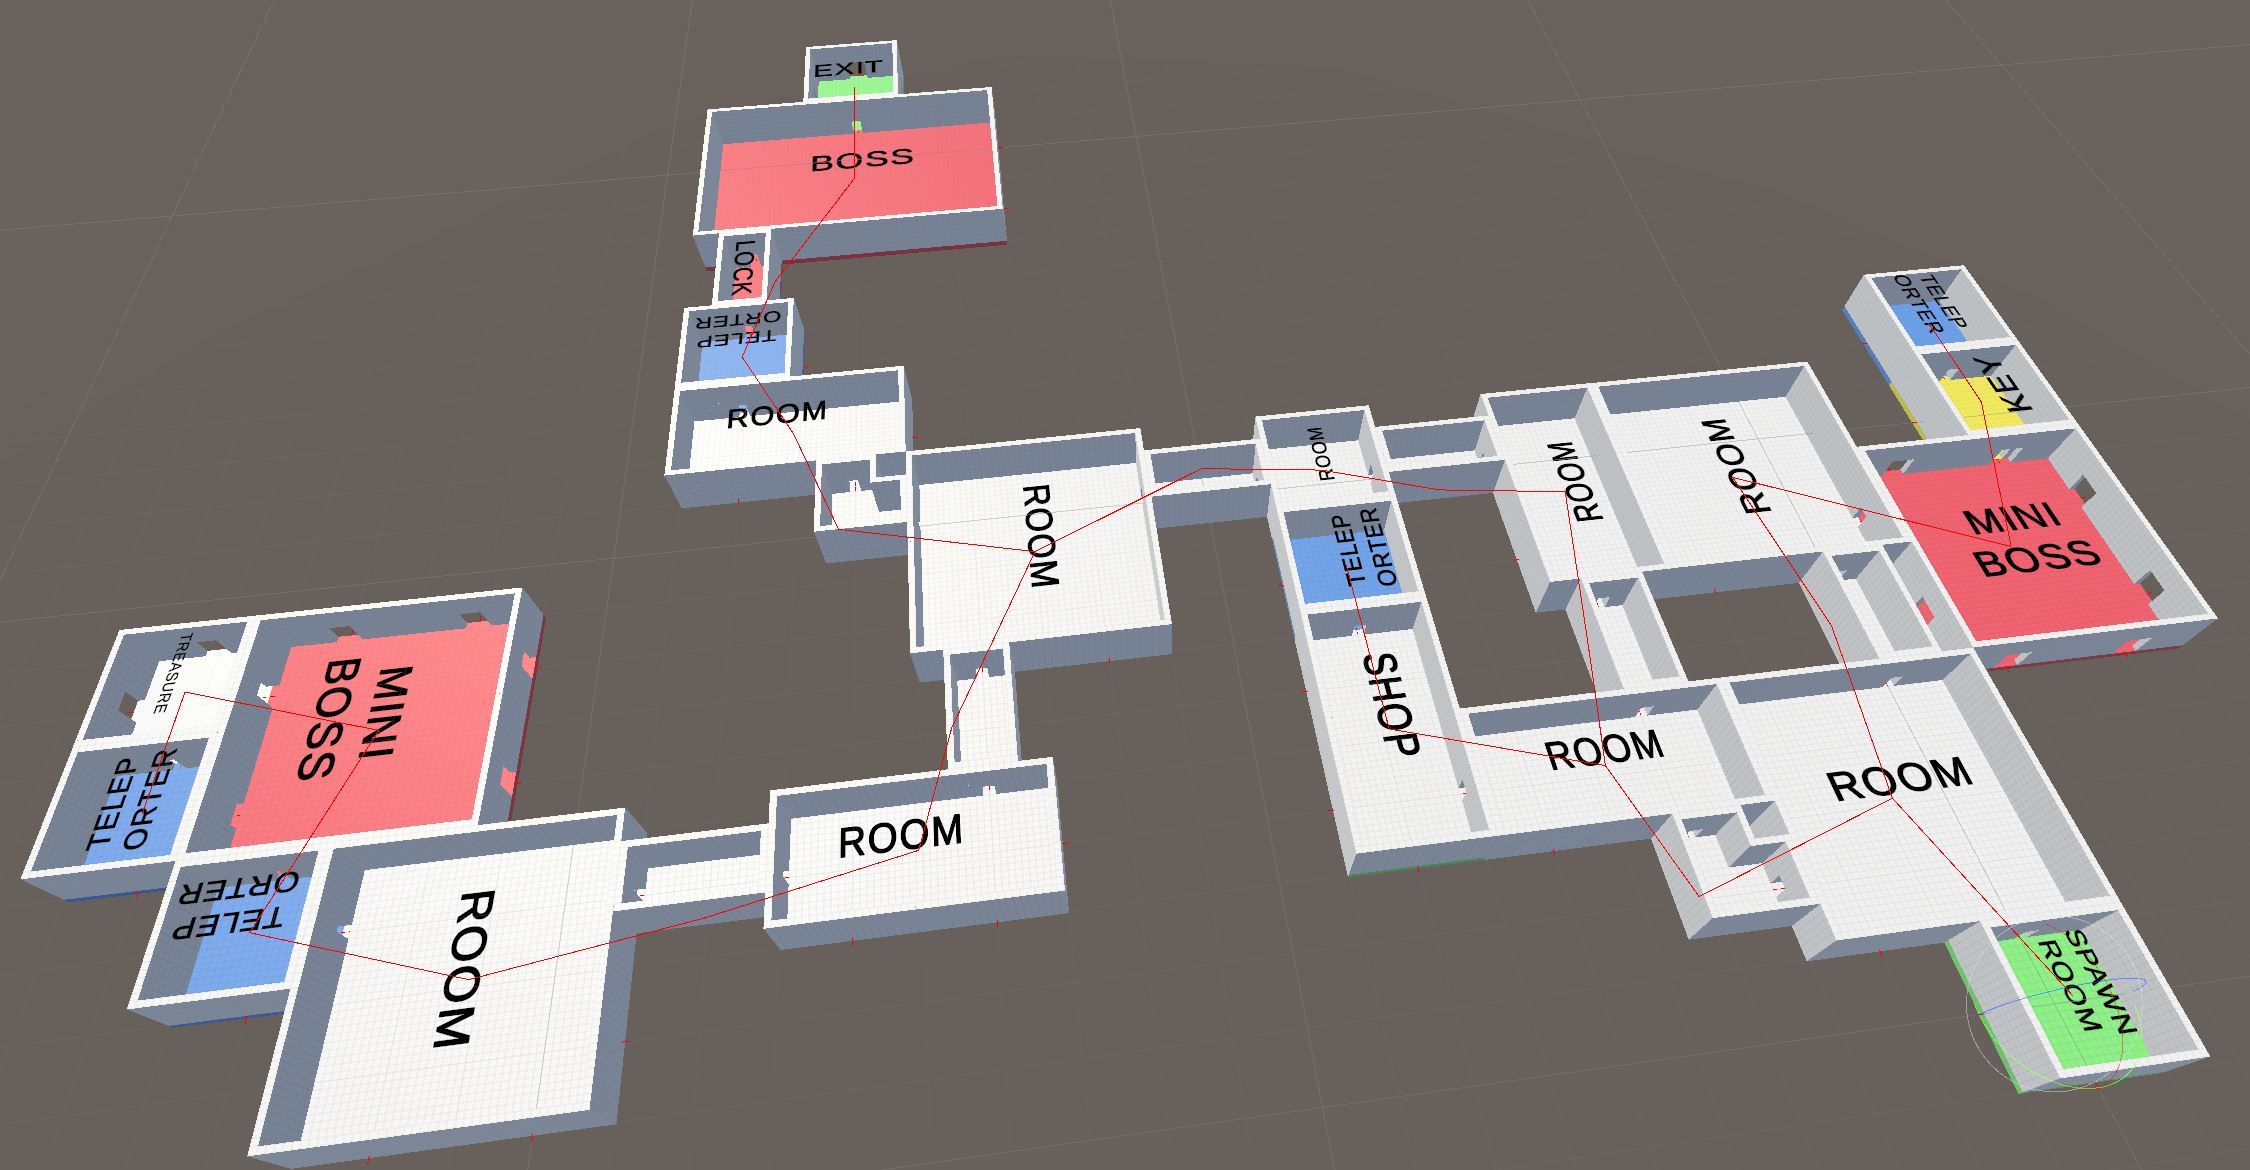
Explore the Sample for a more complex and complete dungeon map with multi key-lock system, treasure rooms guarded by miniboss, exist guarded by a Boss room which requires a key to unlock
Location: DungeonArchitect_Samples\DemoBuilder_Snap\Scenes\DemoScene